Income 2019
Skip information indexDraft processing service / 2019 declaration (Renta WEB)
In the draft or declaration processing service (Renta WEB) 2019, the taxpayer of any type of income will have access to the Income services that are enabled at that time, in addition to the links to procedures and queries for that year.
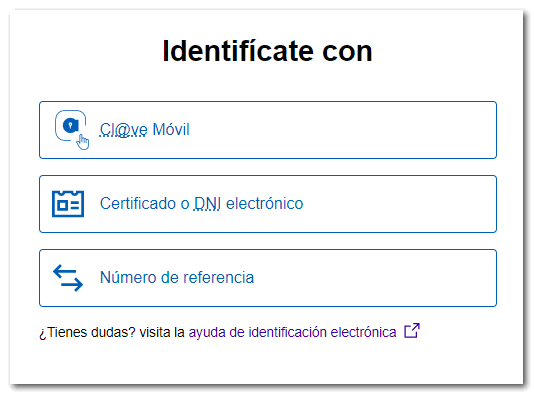
Click on "Draft/declaration processing service (Renta WEB) 2019" and enter your DNI or NIE to access with Cl@ve or with the reference number of the current campaign, or access with Cl@ve Mobile and scan the QR with the APP Cl@ve or use the link "Access with certificate or DNI electronic" to identify yourself with an electronic certificate or DNIe .
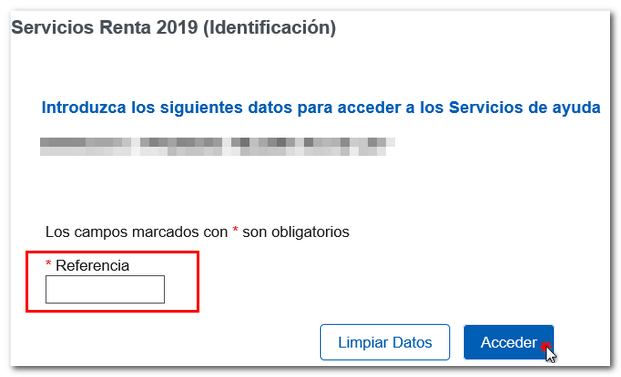
Next, validate the Income reference, identify yourself with Cl@ve or select your digital signature. Next, select whether you are acting on your own behalf or as a representative.

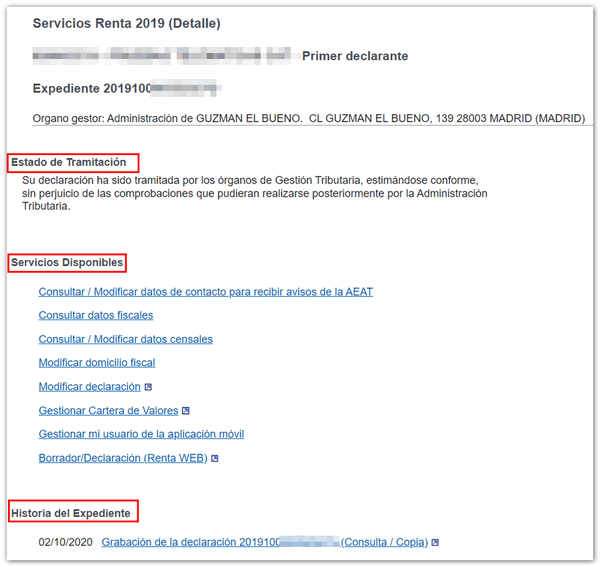
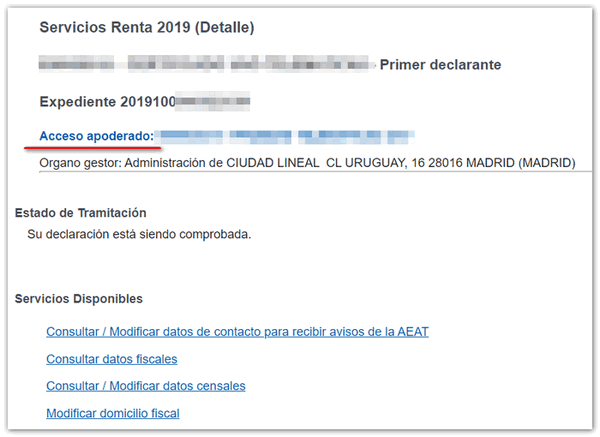
If you act on your own behalf, you will have direct access to the file, which will contain the following information:
-
The processing status of the declaration.
-
Available services include tax and census data queries, and the review and submission of draft tax returns or declarations (Renta WEB).
-
The history of the file where all the states of the file have been recorded and, if it has already been submitted, obtain a copy of the submitted declaration from the link "Recording of the declaration...".
If you use proxy access, the data of the person you are acting for is then requested.
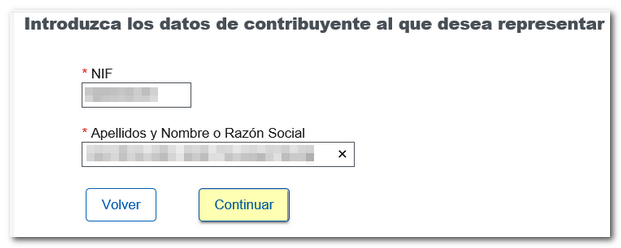
If there is a power of attorney registered for that NIF that allows the consultation and preparation of Income, you will access the file.
If the contributor is a social worker, in order to access the Income Tax file, it is essential to provide the Income Tax reference for the current campaign valid for that taxpayer.
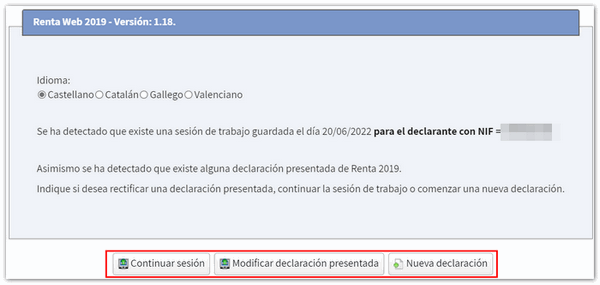
Once in the file, under "Available Services" click on "Draft/Declaration (Renta WEB)" to process the declaration; If you have already accessed Renta WEB at some other time, a pop-up window will inform you of the existence of a previous declaration, which you can recover from the option " Continue session ", modify a previously submitted declaration from " Modify submitted declaration " or start a new process from " New declaration ", incorporating the tax data again. You can also choose the co-official language in which you wish to make the declaration.
If this is your first time accessing the system, the identification data of the declarant and the other declarants of the family unit members will be displayed on the first screen. If it contains incorrect or inaccurate data or if specific information has been omitted, you must first modify it. Please note that marital status and whether you have minor children or legally incapacitated children subject to extended or rehabilitated parental authority cannot be modified later.
If there is a spouse, you must authorize the transfer of the spouse's tax data with the spouse's reference or Cl@ve . If you do not wish to enter your spouse's tax information, you must check the box for calculating the individual return.
By clicking on the icon with the pencil symbol you can modify or introduce new members into the family unit. To delete them, press the cross icon. Once you have completed the data at the bottom, click "Accept".
After accepting the identification data screen, if the application detects that additional tax data must be transferred to the declaration, follow the instructions in the following windows to incorporate this information. If you do not need to enter additional information to generate the declaration, you will directly access the summary of results from where you can check the result of the declaration for each modality and complete the declaration, if necessary.
At the top you have an additional menu from which you can view the tax data imputed for each declarant and download a PDF with the preview of the declaration of each declarant or joint declaration. Please note that in order to view documents in PDF format, you need to have a PDF file viewer installed on your computer, for example, Adobe Acrobat Reader (we recommend at least version 9.0). Remember that you can download this PDF document viewer free of charge from www.adobe.es.
From "View transferred data" you can check which data has been incorporated in the declaration, which data has not been incorporated and the notes on the incorporation.
You also have explanatory videos and, in the question mark icon, access to the help manual for filing the Income Tax return.
From the "Return Summary" you can also save the return using the "Save" option and view your personal data from "Personal Data". By clicking the "Continue with the declaration" button, you will be able to access the different pages of the declaration to check all the data and continue completing the declaration.

Using the "Sections" button you can access the different sections of the declaration and use the arrow commands to move between the pages. Before filing the declaration, check whether there are any errors in the completion by clicking the "Validate" button. If you need to go to a specific box or concept of the declaration, click on the magnifying glass icon.
From this same window you can access the results summary or "Submit declaration" to complete the processing of the declaration.

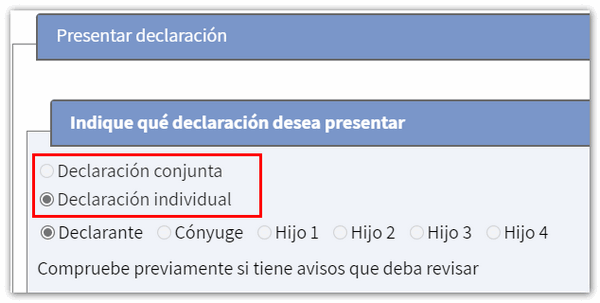
Select how you want to file your return, individually or jointly.
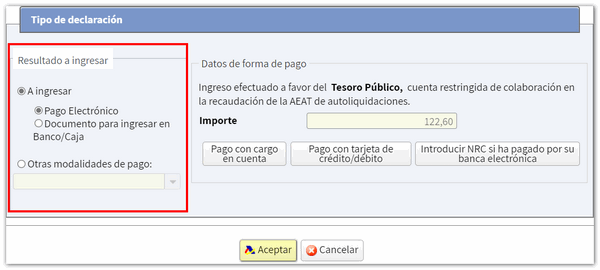
If the declaration results in a refund, you will only have to indicate the code IBAN , but if the declaration results in a deposit and you wish to pay the amount at your financial institution, click on "Document to be deposited in Bank/Box" in this way it will be submitted online but pending deposit, so it will be necessary to go to a financial institution with the deposit document to make the payment.
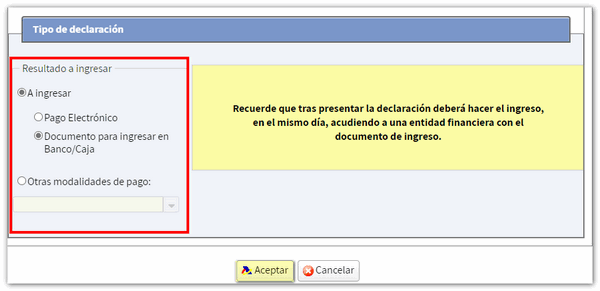
If you select "Electronic payment" you can obtain the NRC by debiting the account or by card or include a NRC already obtained directly from the bank by filling it in the corresponding box. You can also select other payment methods such as acknowledging a debt with an impossibility of payment or requesting a deferral, among others.
Finally, click "Accept" to submit the application online; Then check the "I agree" box and click "Sign and Submit" to complete the submission process.