Electronic filing of form 220
Skip information indexSubmission of form 220 with direct debit
In the case of tax groups whose tax period ended on December 31, 2025, the parent companies or head entities of groups may use as a means of payment of the tax debts resulting from the declaration, the bank direct debit in the deposit entity that acts as a collaborator in the collection management (Bank, Savings Bank or Credit Cooperative), located in Spanish territory, in which the account in which the payment is domiciled is opened in their name. You can also select an account opened abroad for direct debit (EU/SEPA).
The submission with direct debit can be made from July 1st to July 22nd, 2026, both inclusive.
The Tax Agency will notify the designated collaborating entity of the direct debit order, which will then debit the account with the direct debit amount on the indicated date, which will coincide with the last day of payment during the voluntary payment period.
Payments are deemed to have been made on the date the direct debit account is charged, with the receipt issued by the depository institution being considered proof of payment.
Persons or entities authorised to submit declarations electronically on behalf of third parties may also, by this means, forward the direct debit orders that have previously been communicated to them by the third parties they represent.
Access to the form for submitting model 220 requires a certificate / ID card electronic, Cl@ve (only natural persons) or eIDAS (access for citizens of the EU). Please note that after clicking "Apply", it will not be possible to modify the NIF, name, accounting status or tax period.
From the initial window you can import the declaration or create a new one by clicking "Accept":
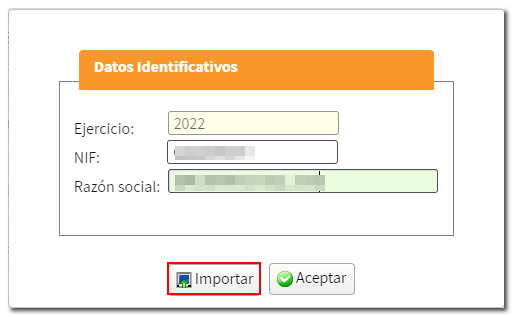
The "Import" button allows you to incorporate a file with the .220 extension from a declaration previously generated with the form using the "Export" button or a file generated from a program other than the Tax Agency, provided that its structure conforms to the registry design published for the model. Please note that once the form is loaded you will no longer be able to use the "Import" option.
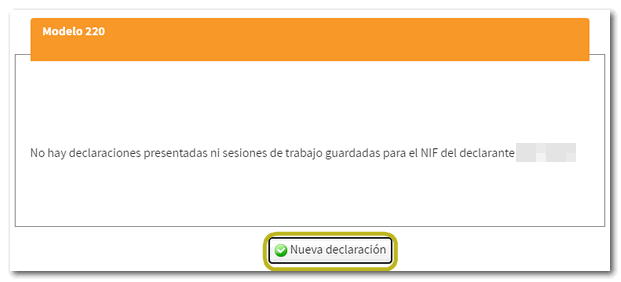
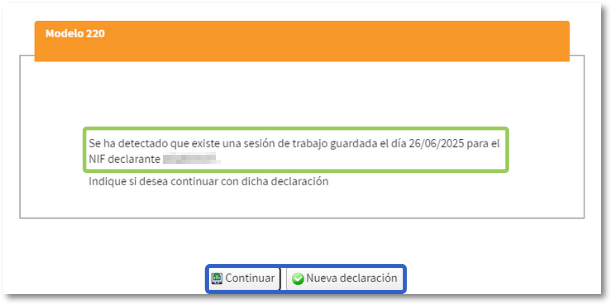
If you press "Accept" and it is the first time you access, it will be indicated that there are no declarations submitted or sessions saved for the NIF of the declarant, being able to access the form by clicking on "New declaration". However, if this isn't your first time accessing the form and you've been working on the return, you can retrieve the completed data stored on the server using the "Continue" button. However, you can also file a new declaration.
To file a new return, you must indicate the group type, whether or not to select other characters, and the tax period.
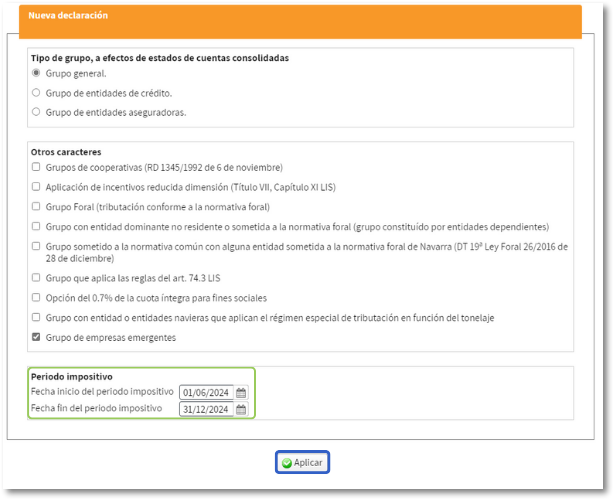
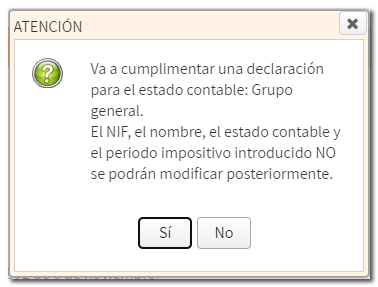
After pressing "Apply" A warning message appears stating that "The data relating to the product cannot be modified later." NIF, name, accounting status and tax period, once these data have been accepted. If the information is correct, click "Yes". Otherwise, press "No".
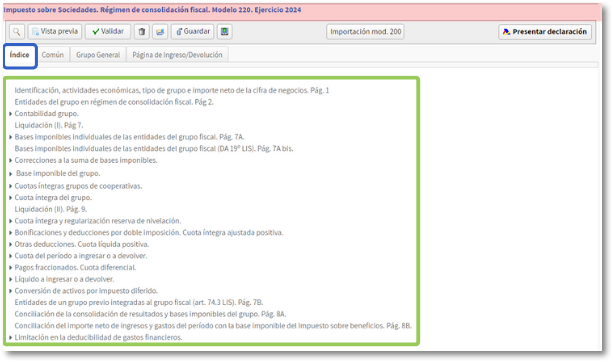
You will then access the form to complete. At the top are the tabs to organize the different sections and thus navigate through the form easily. As indicated in the previous windows, the relevant tabs will be activated in your declaration.
From the first tab, "Index" , you can find access to the different sections of the declaration.
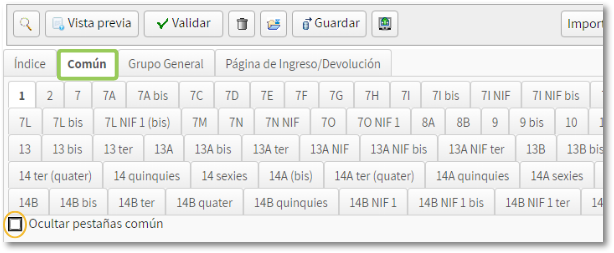
You can also browse the pages of the statement. In the "Common" tab you will find the pages common to the different types of declarations. By default, the "Hide common tabs" box is checked. If you want to view them you must have this box unchecked.
On some pages you will find a button panel from which you can register, deregister and navigate between records. To create a record, click on the icon "New record" identified by a blank sheet with a green "+" sign. Then, fill in the rest of the information.

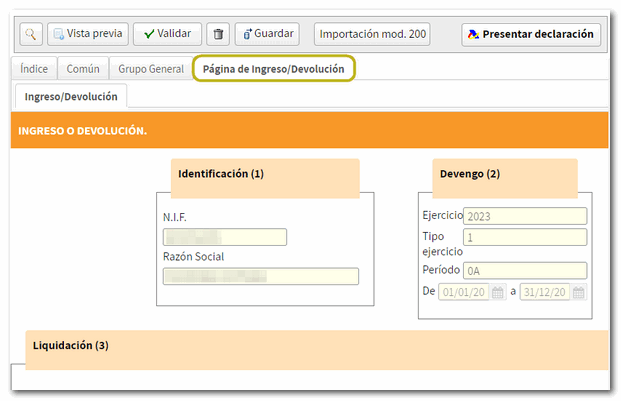
Once you have completed the declaration, check the result from the Deposit/Refund page.
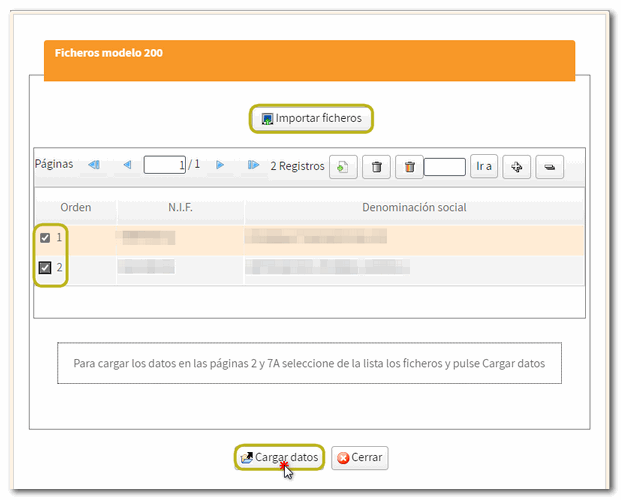
At the top of the form are the buttons with its functionalities. If you wish, you can import the data from model 200 from a file that you have previously generated. To do this, press "Import mod. 200" and in the pop-up window click on "Import files", select the .200 file that contains the data you want to transfer to the 220 model, then mark the one(s) NIF that you want to load and press "Load data", to load the data on pages 2 and 7A.

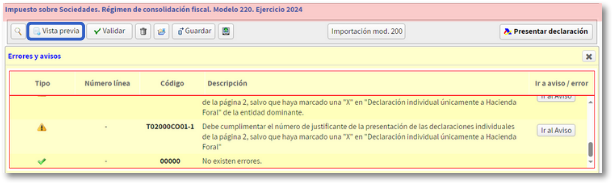
Next, to validate the content of the declaration, click on the button "Validate". The "Errors" tab will display the errors and warnings detected in the declaration, with a "Go to Error" or "Go to Warning" button to correct them.
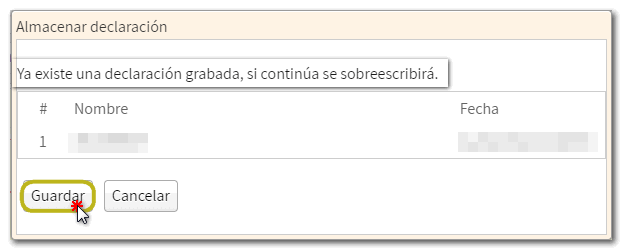
Using the button "Keep" The declaration data will be saved on the server, and you can retrieve it when you access the form again by clicking "Continue" in the initial identification data window.

In addition, if you want to obtain a draft to review the data before filing the return, you have the tool " Preview " that generates a PDF that is not valid for filing with the return. The draft is displayed on the screen; However, since "You can click here to download the pdf" you can download it to your computer. Please note that to correctly view the draft you need a PDF viewer. We recommend the latest version compatible with your operating system.

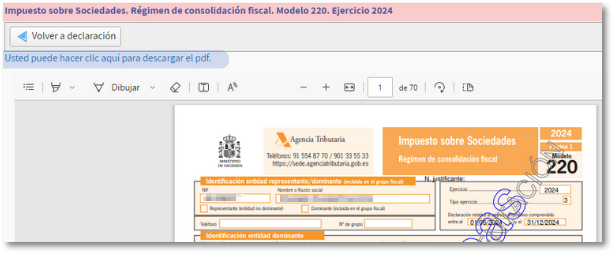
To return to the declaration, click on "Return to declaration".
If the declaration validation is correct, you can proceed to submit it by clicking the button "Submit declaration" located in the header of the form. 
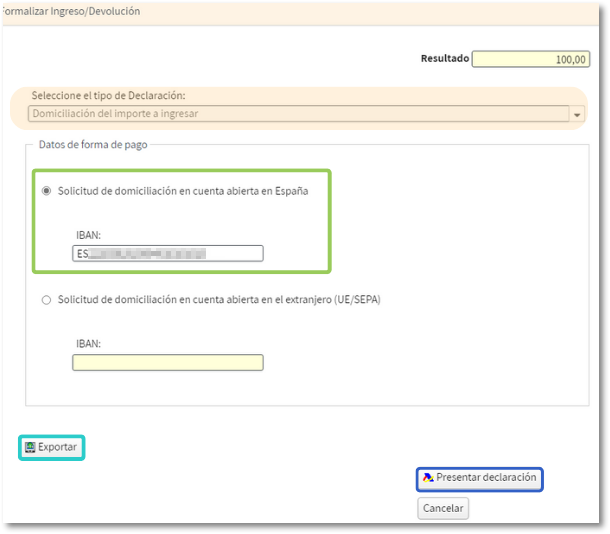
If it is validated correctly (without errors) you will obtain a file in BOE format from the "Export" option. You can choose the path to save the file, which will be named NIF of the declarant, fiscal year, period and the extension .220. To retrieve the declaration, use the "Import" option from the identification data start window.
Choose in the section "Select the type of declaration" the method of payment and/or presentation "Direct debit of the amount to be paid" and enter the code IBAN from the account where you wish to direct debit the payment. It can be an account opened in Spain or an account opened abroad (EU/SEPA). Then click to continue filing your return.
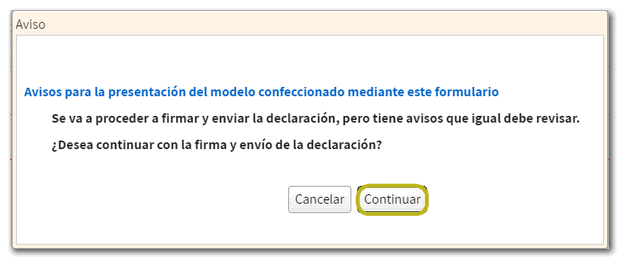
If, when validating the declaration, any warnings have been found that do not prevent you from filing the declaration, they will be reported in a pop-up window. Click "Continue" to file your return or "Cancel" to review your notices.
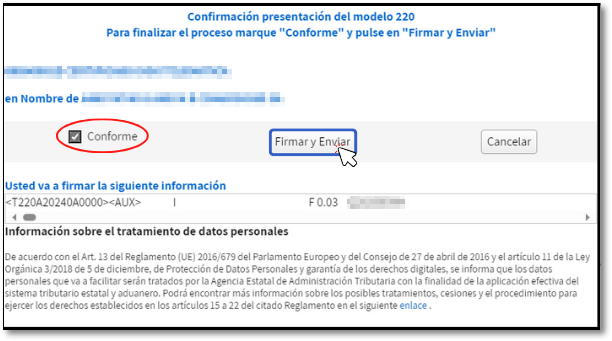
In the new window, check the box "Agree" to confirm the filing of the declaration. The text box will display the encoded content of the declaration. You can continue filing the return by clicking "Sign and Send" .
The result of a correct submission will in any case be the response page on which it appears "Your presentation has been successful." with a PDF embedded containing a first page with the submission information (registration entry number, Secure Verification Code, receipt number, day and time of submission and presenter details) and, on subsequent pages, the full copy of the declaration.