Income 2018
Skip information index2018 Securities Portfolio through collaboration
The Securities Portfolio service has specific access for social collaborators within the list of procedures for model 100 in the Electronic Office.
After identifying yourself with an electronic certificate, you will have to indicate the NIF or NIE and the reference of the taxpayer for whom you wish to generate the Securities Portfolio.
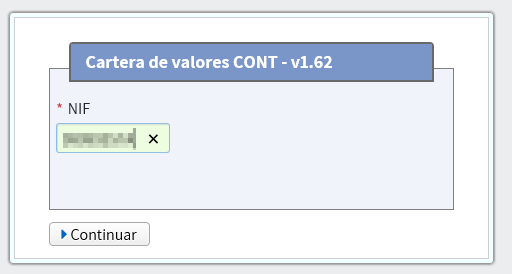
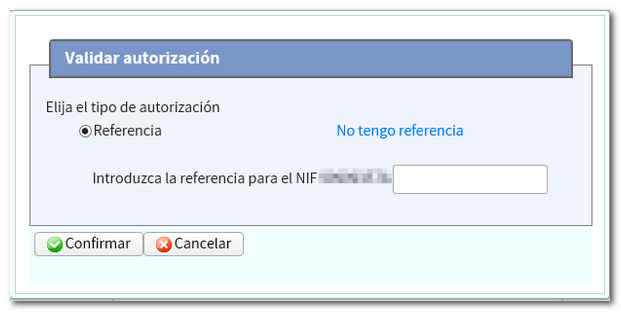
Please note that the application collects data from the informative declaration templates.
The Securities Portfolio application allows the automatic transfer of portfolio data to Renta Web. This data will be obtained automatically through the Informative declarations and with the manual corrections of the taxpayers, which in some cases will be essential.
Portfolio Interface 2018
Once you have selected how to identify yourself, you will access the main screen of the application, divided into several panels: "Values" , "Grouping" and "Operations" . You also have a number of options to access the Securities Portfolio help, video tutorials on the application and the color legend that identifies the status of operations, groupings and values.
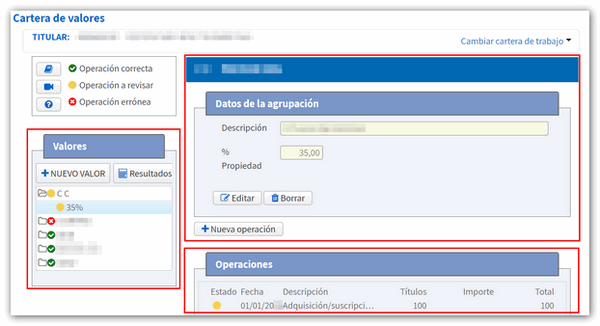
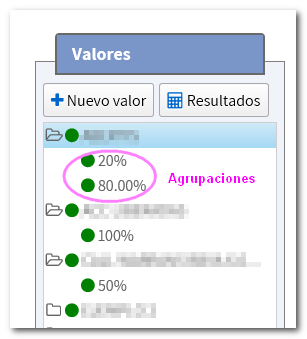
In the "Values" panel each value is displayed with the different existing groups, which reflect the percentage of ownership.
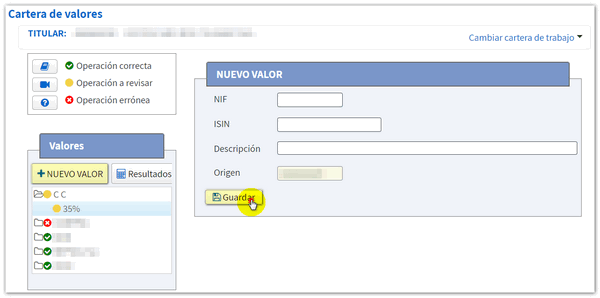
If you want to add a value, press the button "New value" and provide the NIF or ISIN of the value and a description. Press the "Save" button.
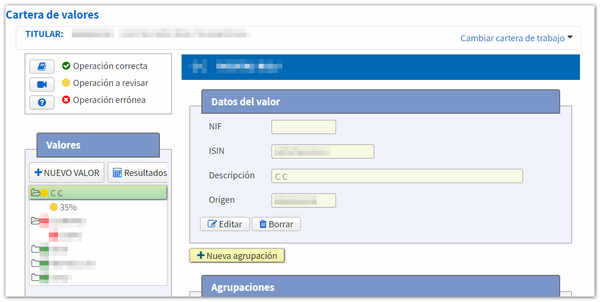
If you access the value details you can edit the information or delete the value. In addition, the value groupings will be displayed and from the button "New grouping" you can add groupings to the value if you have shares of the same value but in different percentages.
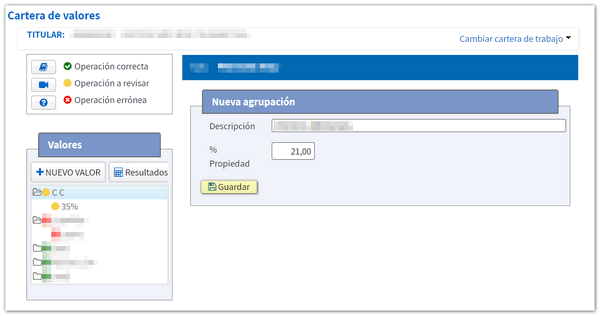
In this case, a description of the grouping and the percentage of ownership must be provided. Then press the "Save" button.
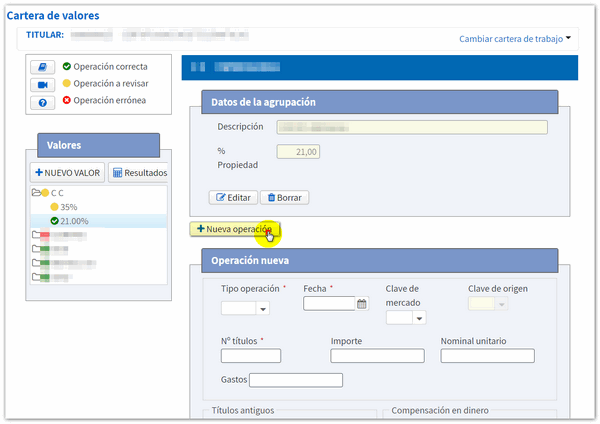
Likewise, from the detail of a "Grouping" , operations can be entered or operations that were already loaded in the Securities Portfolio can be modified.
-
-
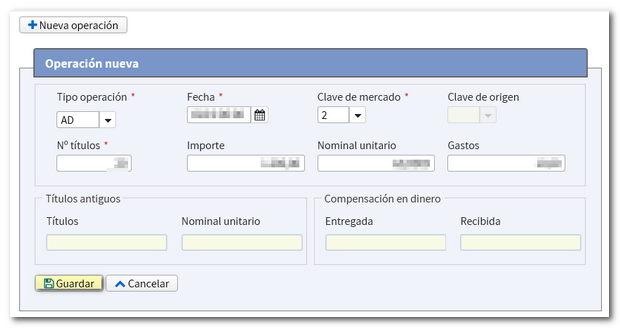
To create a transaction, press the button "New transaction" and fill in the type of transaction, date of the transaction, market key, origin key, number of securities and amount. Press "Save" to record the log.
-
-
-
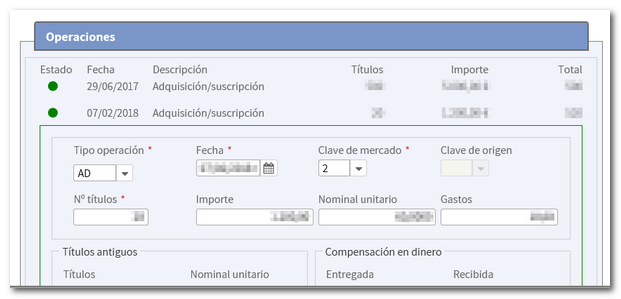
To modify an operation, in the "Operations" table , click on the record and the fields will be loaded. Type or expand each field to edit it. If you want to delete the operation, press the "Delete" button.
-
Types of operations
The information that will be initially loaded into the application will be that collected in the informative declaration models. There are operations that must be included manually.
The status of manually generated or transferred operations can be identified by the following color code:
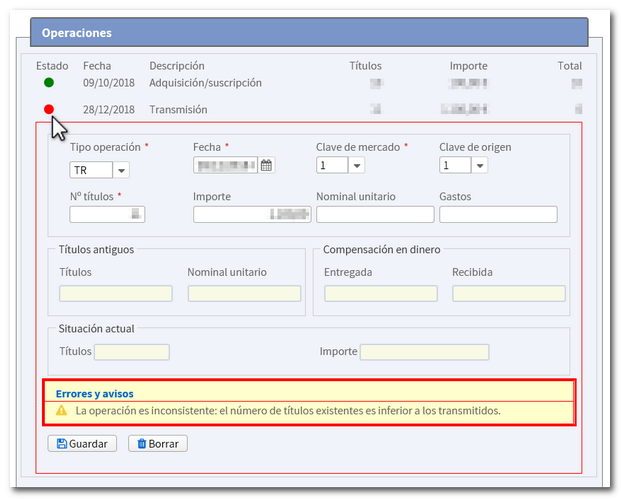
- Red , operation with errors that need to be corrected to make the Securities Portfolio consistent and thus be able to transfer the data to Renta WEB.
- Yellow , operation with notices that may or may not be corrected since the transfer to Renta WEB is allowed.
- Green , successful operation.
If an operation is colored red, this causes the grouping and the value it belongs to to also be red. To make the portfolio consistent and to be able to transfer the data to Renta WEB, it is advisable to correct the first operation in red as this can automatically validate the rest of the operations.
By accessing the operation details, you can check what error was detected.
Results
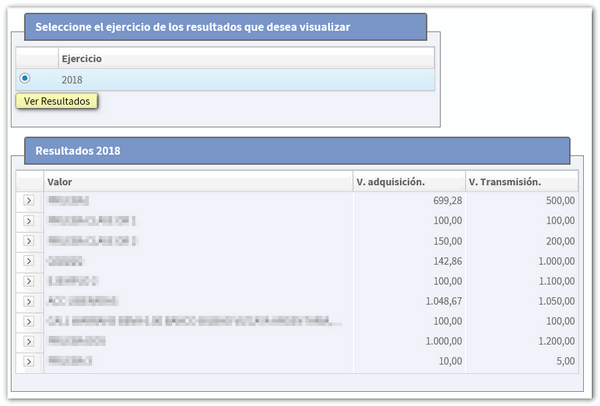
Once you have completed entering and reviewing data in the portfolio, you can check the acquisition and transmission values calculated for the 2018 financial year from the "Results" button. Click "View results".
Synchronization with Renta WEB
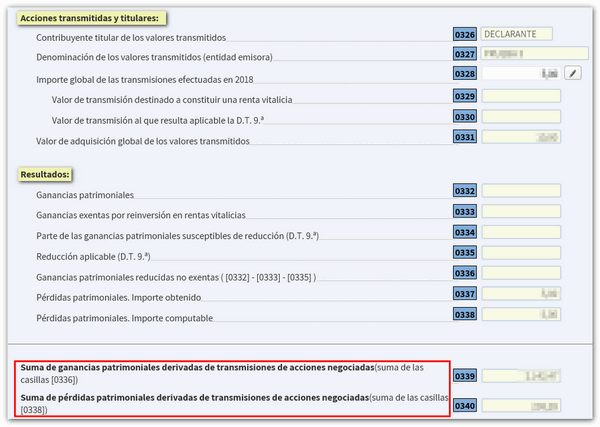
In order for the data to be transferred from the Securities Portfolio to Renta WEB, in addition to it being a consistent portfolio, it is necessary that the corresponding box is checked in section G2 of your declaration, which may be checked by default depending on the tax data or it will be the taxpayer himself who chooses to check it or not.
If it is detected that for that NIF there have been changes in the Securities Portfolio, both applications are synchronized and transfer the data to the declaration.


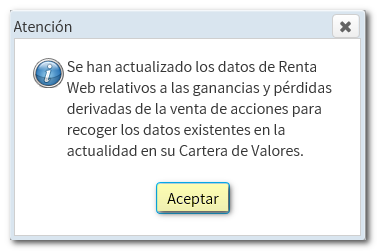
You can check in section G2 of the declaration that the data has been transferred correctly.
